HOW TO WINTERIZE YOUR RV
These colors behind me can only mean one thing.
It's time to winterize.
Now when it comes to winterizing your RV, you probably know there are two different methods. You can either use the Air Blowout method or you can use the RV Antifreeze method.
Which one is better?…

What is the best way to winterize my RV? Antifreeze or Blowout Method?
Either. They both actually work well. I will show you both the air blowout method and RV antifreeze method step by step in this video.
How to Winterize My RV
To begin either one of these methods, the process is the same.
Turn off the water supply and disconnect the hose from our RV
Turn off the electric power to the water heater
Turn off the gas to the water heater
Drain the water heater
Drain the fresh tanks. If using the air blowout method, open up the low point drains and drain those as well.
In the video below, we'll go step by step to show you how you can winterize your own RV.
How to Winterize Your RV With the Air Blowout Method


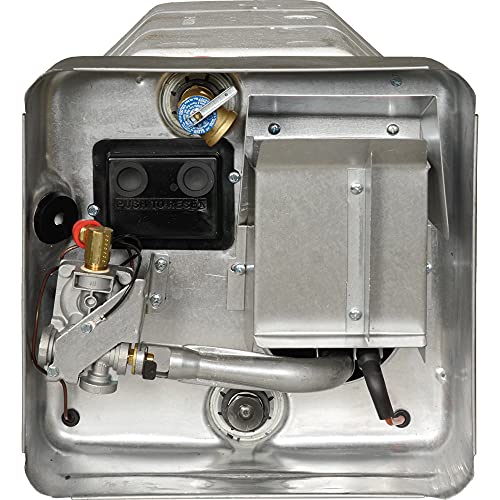
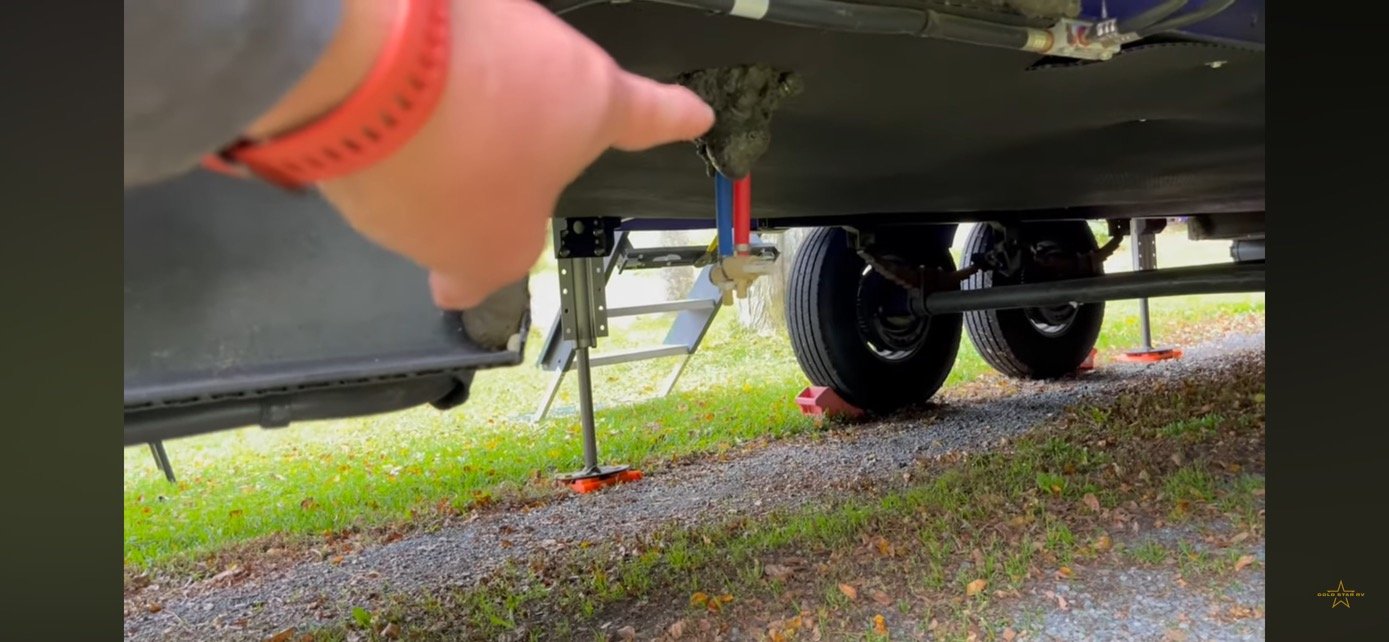
We are going to drain our water heater. Remove the cover.
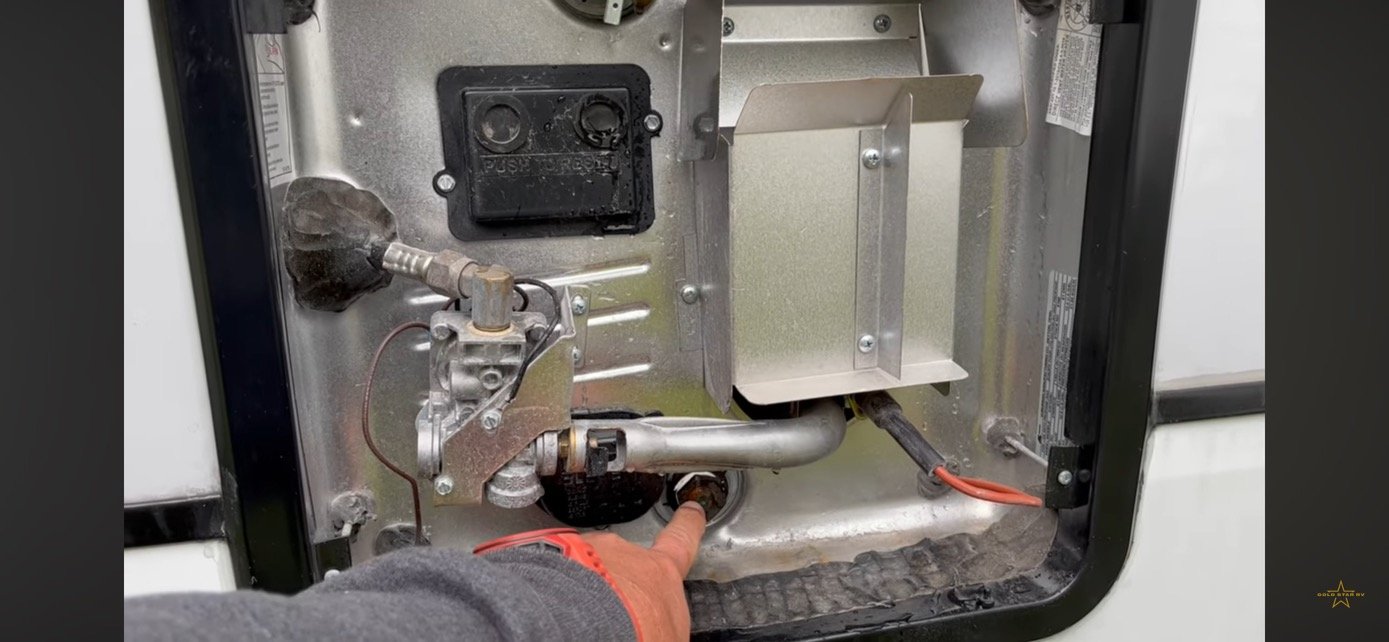
Our water heater is a suburban water heater, so it's going to have the anode rod down here on the bottom.
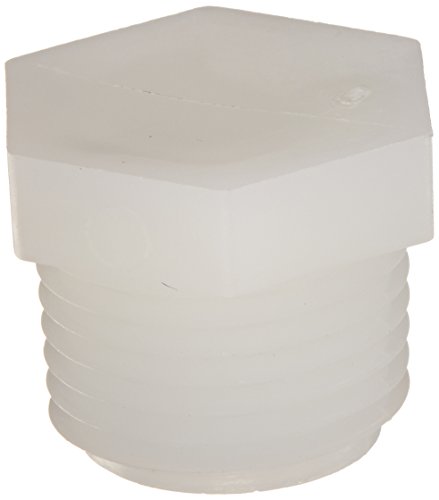
You might have another brand that will have a white plastic plug down in the bottom corner.
This is what we're going to use to drain the water heater. After you have let the water heater cool off so that the water is no longer hot, then you can open your PNT valve. That's what this valve is called right here.
Crack it open. You may get a little bit of water coming out. Once you do that and release the pressure, then you can remove the anode rod and the water will come out. Or you remove the white plastic plug and the water will come out there. Keep that white plastic plug because that's actually the safety mechanism for that particular water heater. You'll need to replace that plastic plug when we finish up our winterizing.
The next thing we're going to drain is our fresh water. On our particular coach, it's right down below. You'll see a valve right there similar to the valve that you have for your sewer gate or your dump tanks.
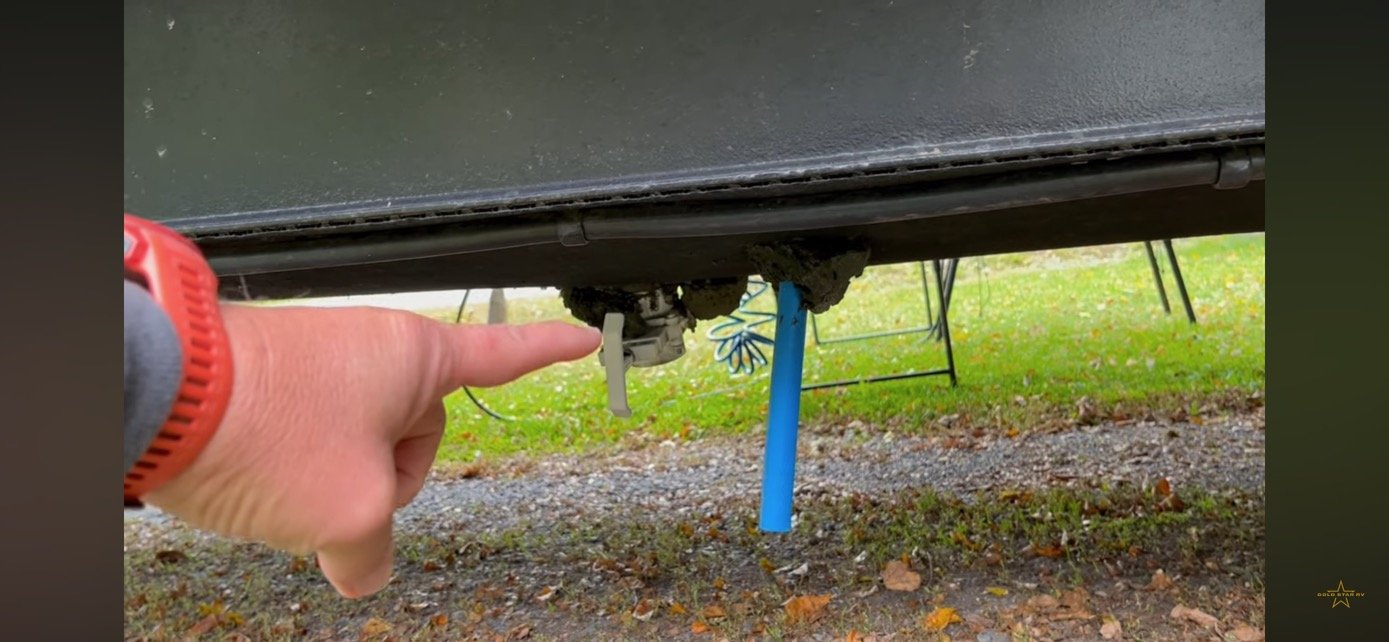
That valve you can pull and whatever is in the fresh water will dump right out the bottom. Make sure you drain all the water from your fresh tank so that it's completely empty.
Also, we're going to open the low-point drains. That's the little valves that are red and blue. They have a little valve here on the end.
Open both of those up. When you open those up, make sure to open the faucets on the inside in your kitchen and in your bathroom. That will allow all the water to drain out of those lines out the bottom here.
After several minutes, once the water has stopped draining from your low point drains, go ahead and close those valves.
When it has stopped draining from your fresh water, go ahead and close that valve as well. When it has stopped draining from your water heater, go ahead and replace it with a new element if you want to, or replace the plastic plug that's here. It’s good to replace those items with new ones at this point.

If you have a Truma on - demand water heater, they'll have a water bladder on the side here with a lever and a filter inside that allows you to drain that water bladder also. If you have a different on -demand style water heater than Truma, go ahead and follow your manufacturer's recommendations for how to winterize that unit.
I like to go ahead and replace the anode at that time. I like to seal these back up for the winter to not let any critters or spiders or anything that might want to get in there and build a nest. So I'll go ahead and seal those back up once they've drained.
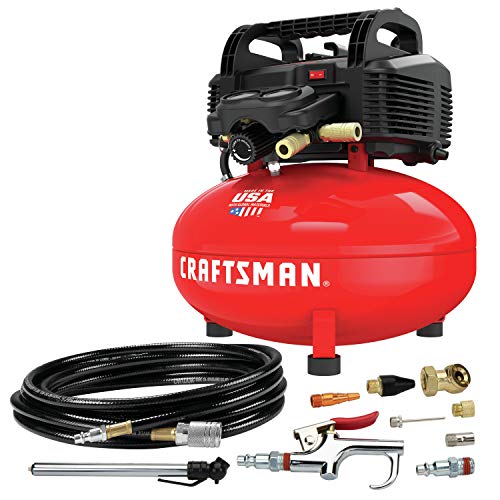
Once we've allowed the water to drain out of our fresh tank, out of our water heater, and out of our low point drains, we'll go back in the coach, we'll shut all the faucets at that time, then we'll take our air adapter that we can get from Amazon.

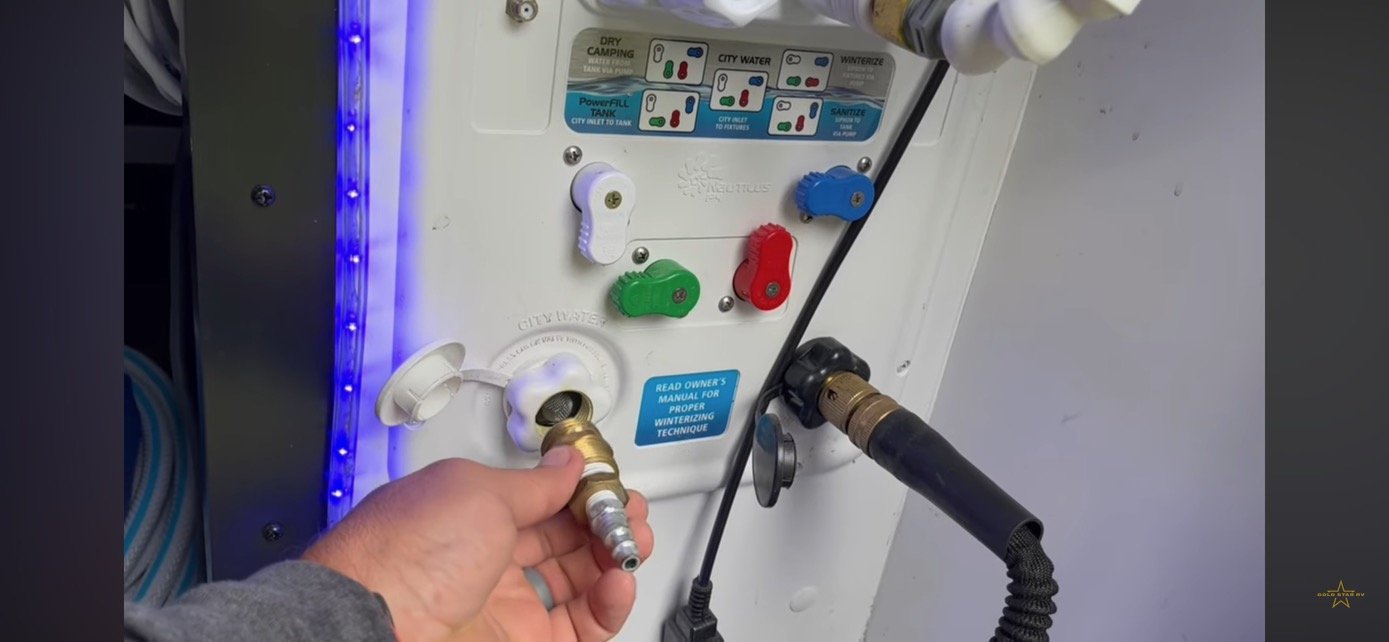
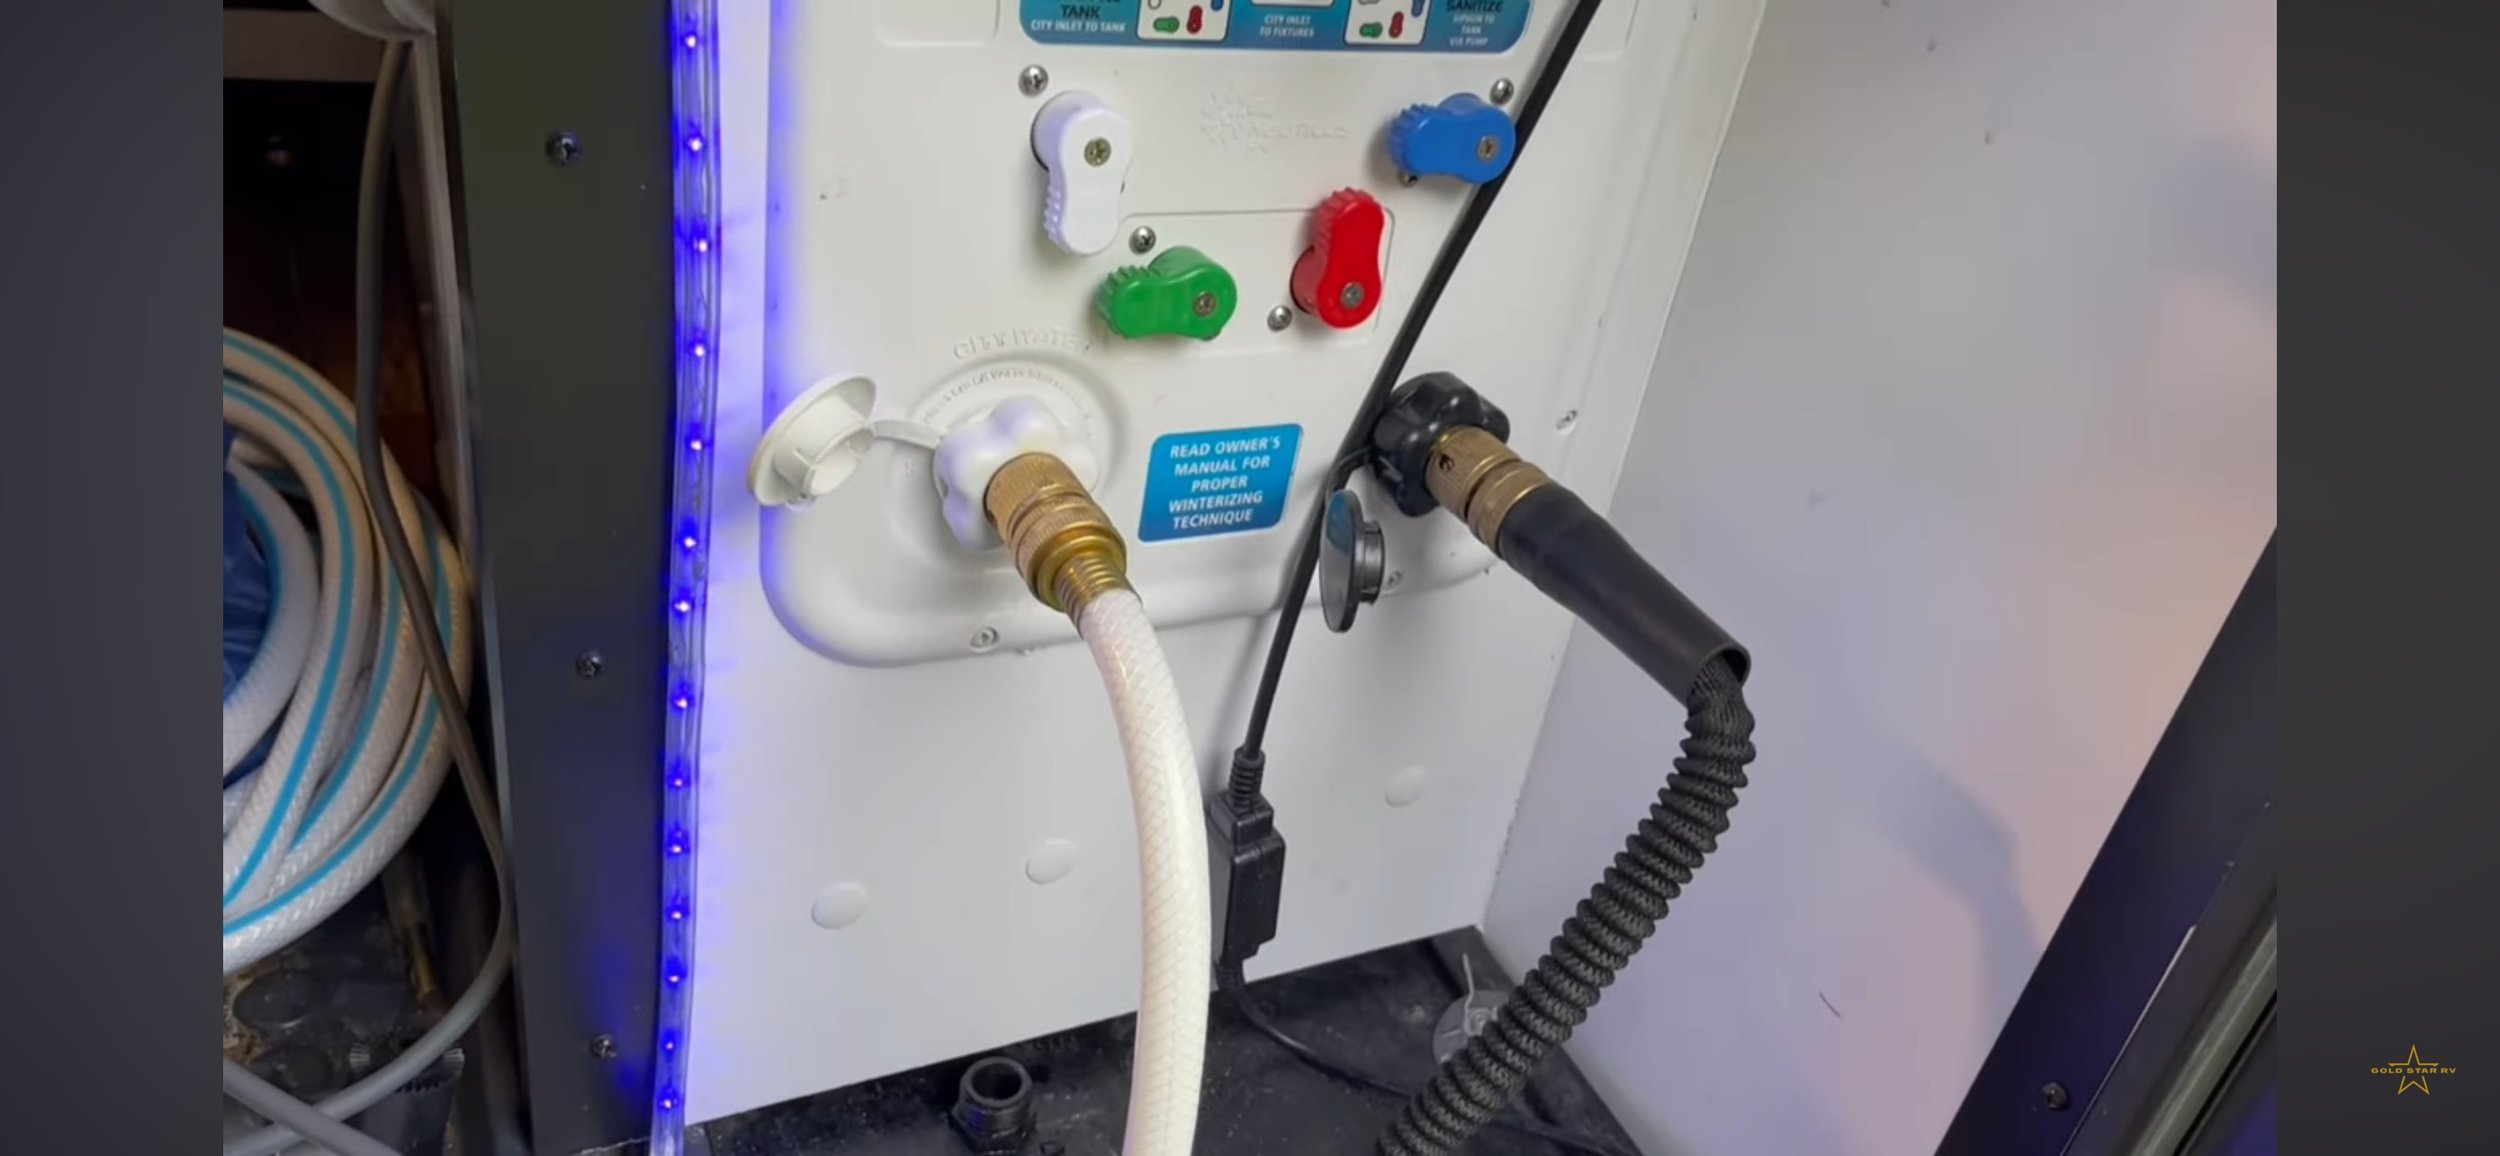
You will put your air adapter here on your city water connection.
You're going to screw that in. Make sure that's tight and then you'll hook your air hose up to your city water connection.
You're going to screw that in, make sure that's tight, and then you'll hook your air hose up to the city water connection. You're going to want to set your compressor at about 50 psi. Some coaches will have a different recommendation anywhere from 30 psi to 50 psi. I generally use 50. Seems to work pretty good and I haven't had any trouble with it.
Once we've got the air hooked up to our city water connection, we'll turn the compressor on, run at 50 psi, and then we'll go around to each faucet inside the coach and open up the faucet until we hear air coming out of the faucet until all the water has cleared from that particular faucet, so you're going to do your kitchen faucets, your bathroom faucets, your shower, also your toilets. You'll want to hold down the foot flush until you hear air come out to get all the water cleared out of that line as well.
Make sure if you're using this air process to clean the lines that you put it on your city water setting. Not all bays look the same, so your setting might be different, but you want to set up your air so that you're blowing through the city connection of your coach.
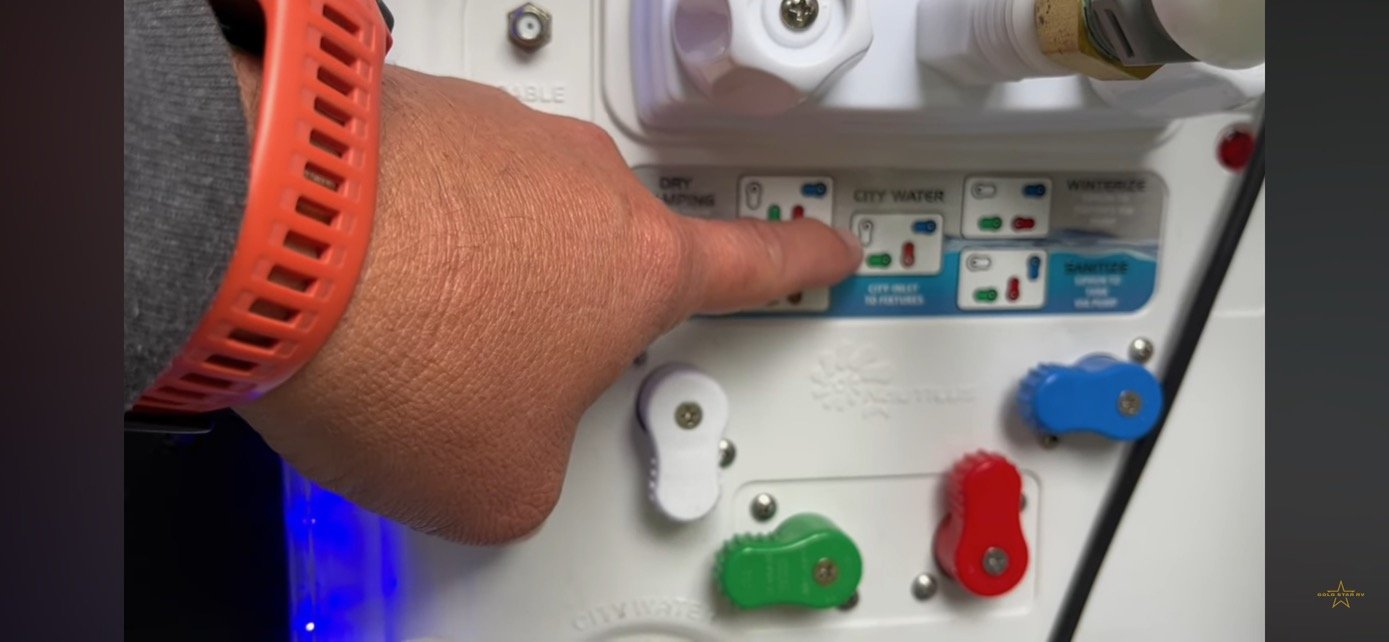
So if you have one of these, set it to city. If you don't have one of these, put it on the setting that you would normally use your regular water in the coach in that setting so that we can get the air through the lines that the water would normally be.
When you're using the air blowout method and you go inside to clear each faucet, make sure that you open each faucet individually. You want the maximum amount of air to go through that faucet to clear all the water. When you're done with, say your kitchen faucet, use the cold water and the hot water to clear all those lines, then close that faucet and move on to the next faucet. Once you're done with that, then you'll need to take RV Antifreeze and you'll need to pour it down each drain because you may have a water P-trap at the end of the drain. So you want to clear that water out with the RV Antifreeze so that you don't have any issues with your P-trap. Some of the traps are waterless P-traps and instead of going through your RV and checking every drain to see whether it's a standard P-trap or a waterless P-trap, just put a little antifreeze down each drain and you'll be sure to be covered for that scenario as well.
That antifreeze that you put down the trap will also make its way down into your holding tanks. To have a little bit of antifreeze in your holding tanks is good as well because you'll naturally have a little bit of residual water in your gray and black tanks. Allowing some of that antifreeze to then make its way to the holding tanks will keep any water there from freezing also.
Your water pump may have water in it as well, so what you can do in this scenario is turn your pump on and allow the pump to clear the water from itself from that line. Don’t let your water pump run too long without any water through it because you can end up burning up your pump. Only do it for a brief period of time to clear the water out of the pump.
Now let's take a look at how we winterize with RV antifreeze.
How to Winterize Your RV With the Antifreeze Method
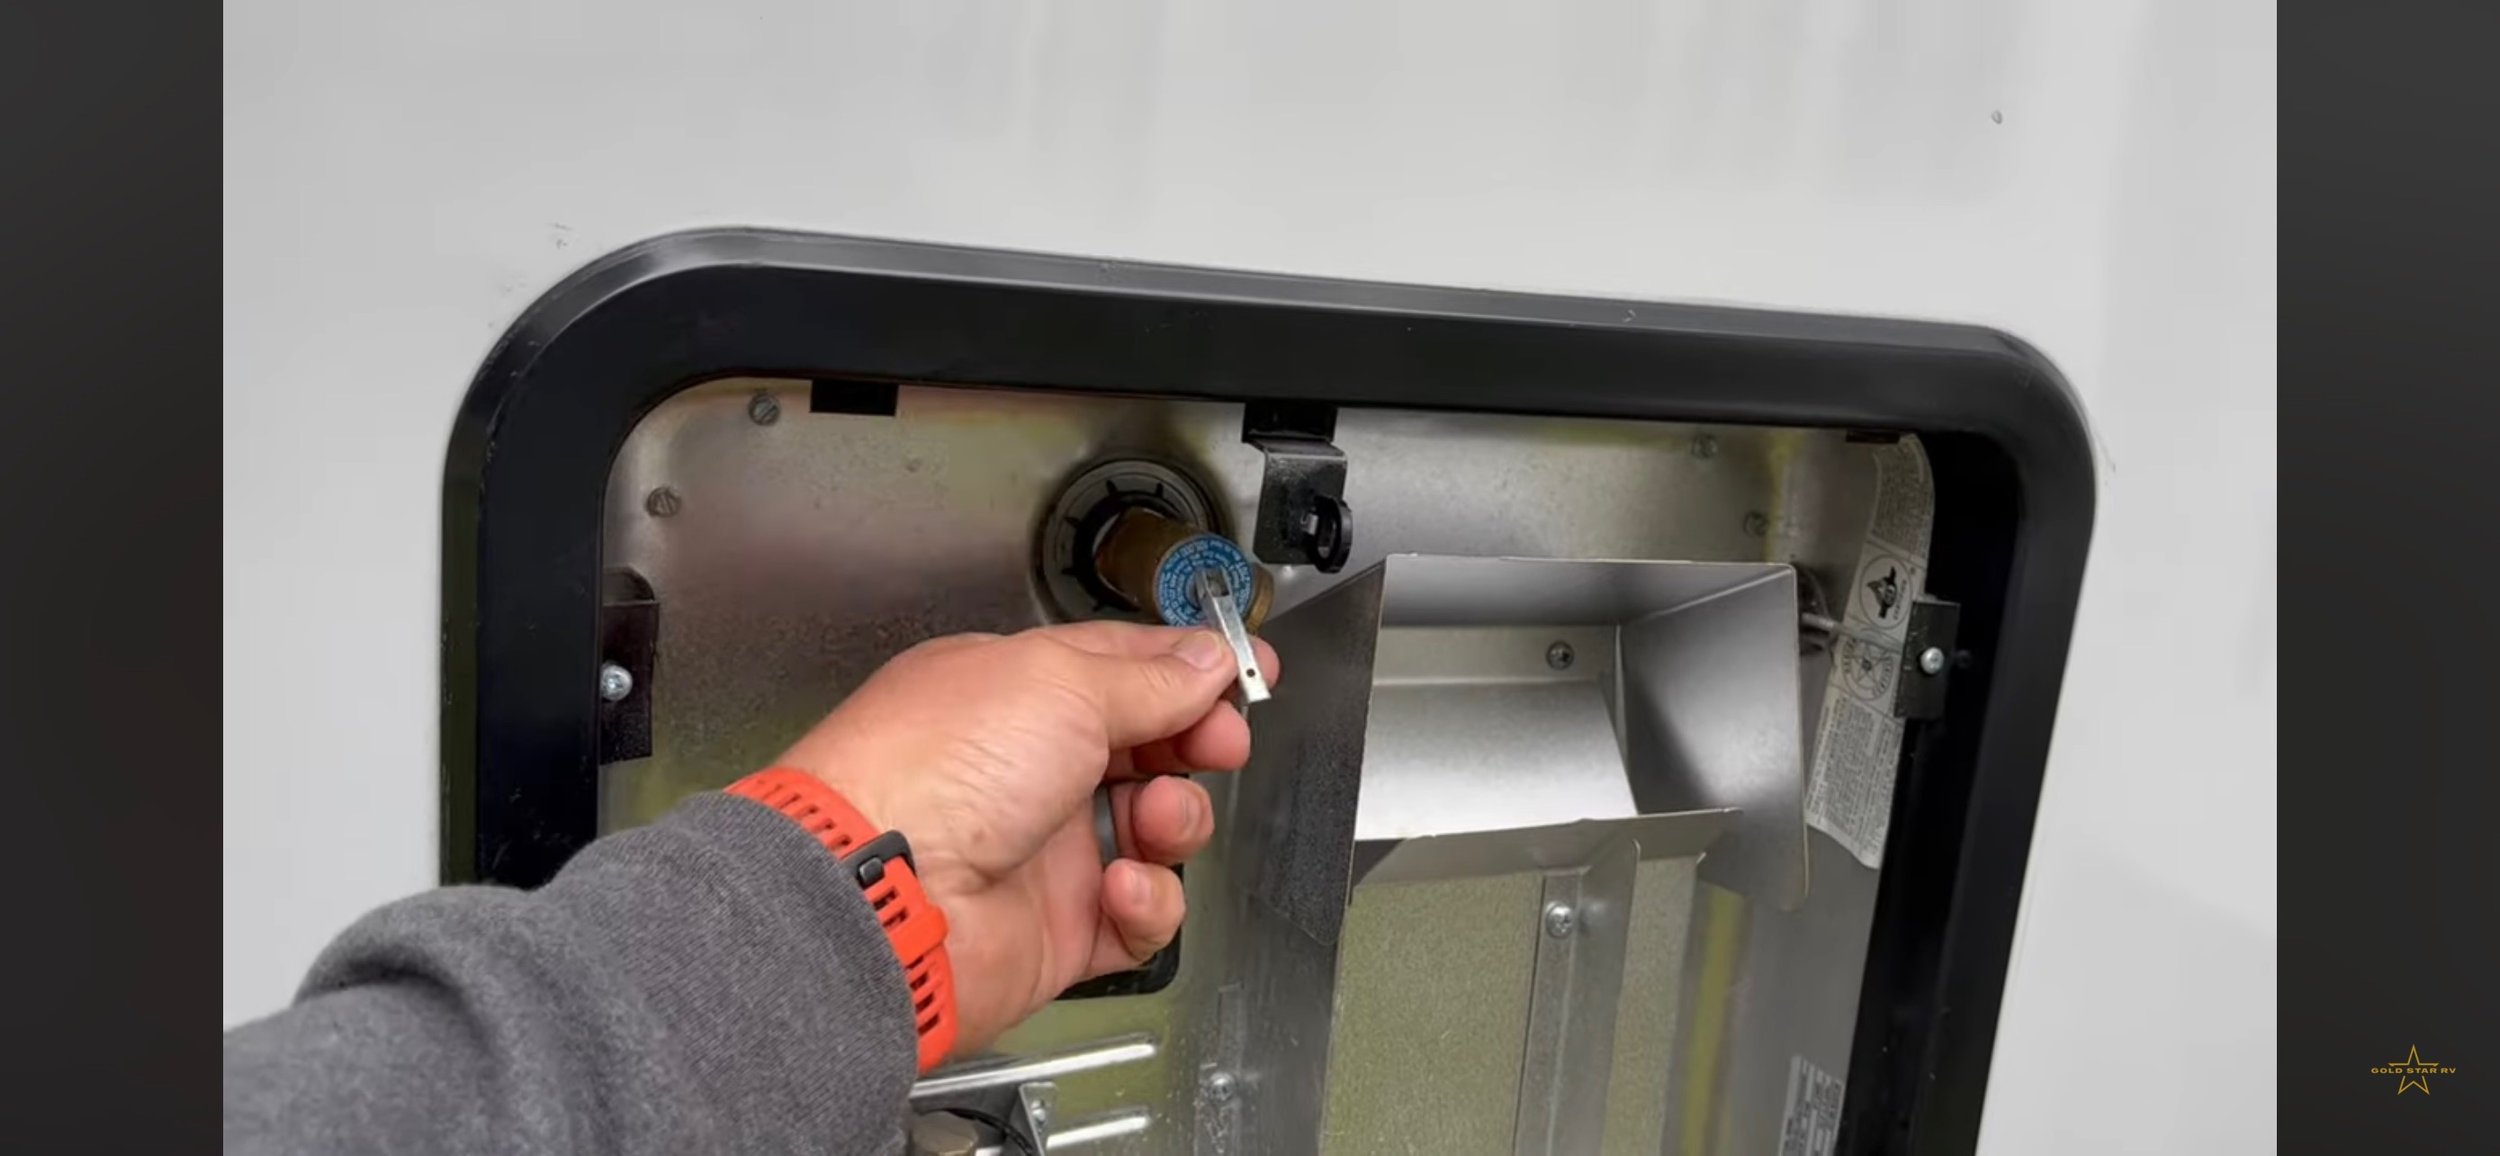
So we're back here at our water heater. We've allowed it to cool off. We're going to do a very similar process. We're going to lift the PNT valve (Pressure and Temperature) to release pressure and we're going to remove the anode rod or the white plastic plug.
Allow all the water to drain out of the water heater. Also drain the water from your fresh tank. Get all that water out. With the method using the antifreeze in the lines, we can replace the plugs back in the water heater once it has drained.

Then we are going to come over to our water bay and we're going to set our water bay to winterize if you have the winterization method.
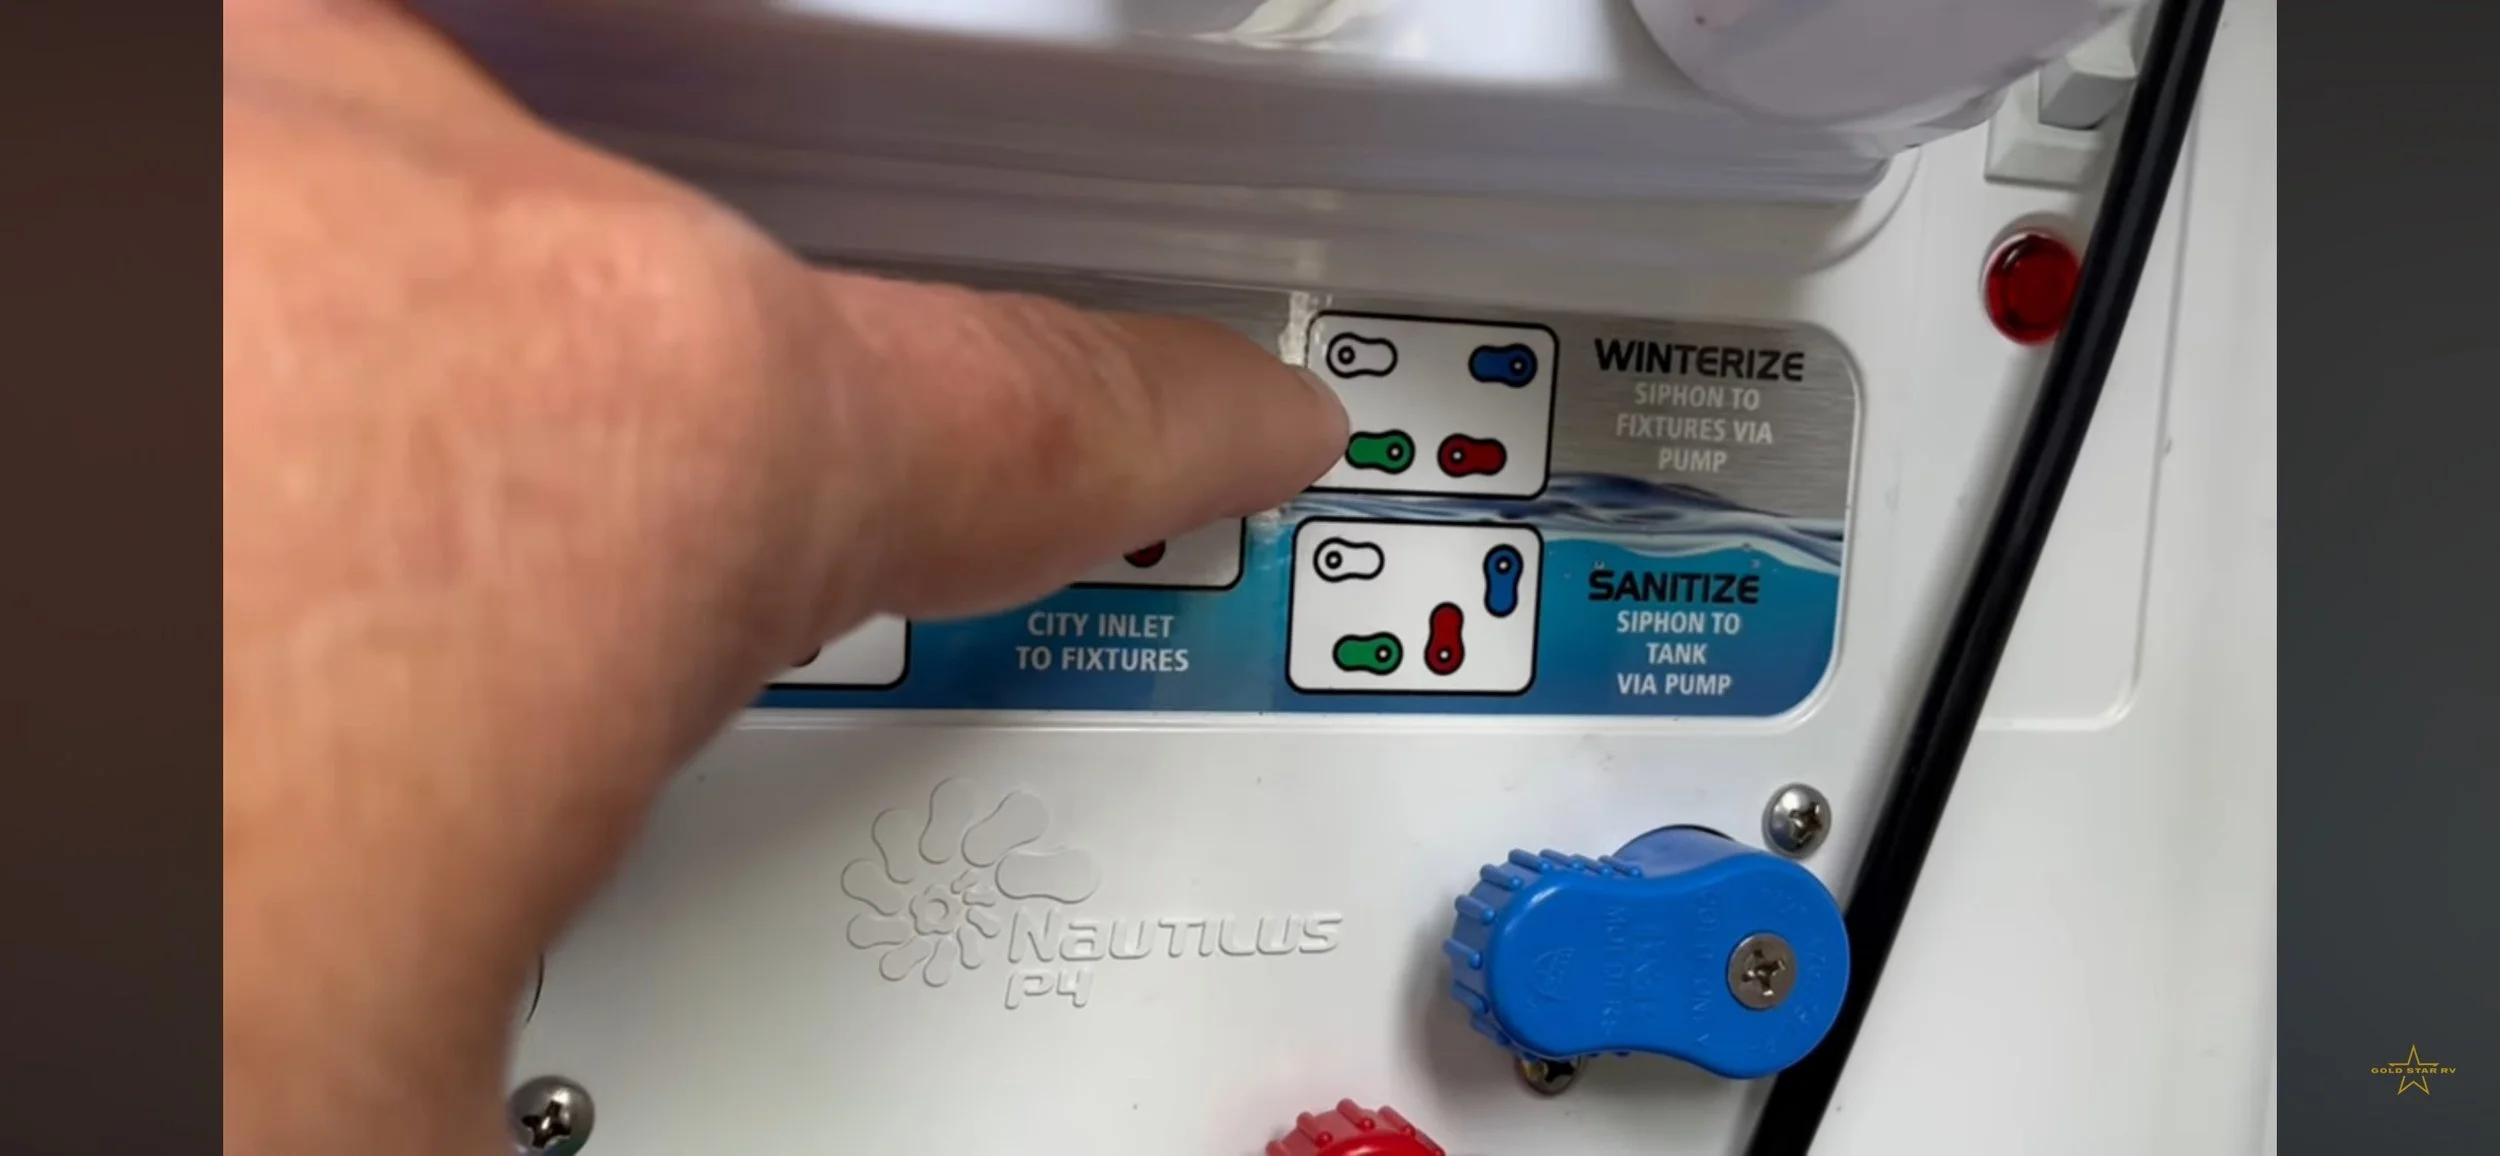
If you don't have this type of water bay that has these valves in it, you will need to go to the lines that go to your water heater and put them in bypass. There should be a valve to bypass it back in the water bay so you don't end up with antifreeze in your water heater.
Basically, the water that's coming in or the antifreeze that's going to come in the city water connection is going to bypass the water heater and go into the lines into the faucets because you don't want to fill your water heater with 8 - 12 gallons of antifreeze. Take that line and bypass the water heater and go straight into your coach.
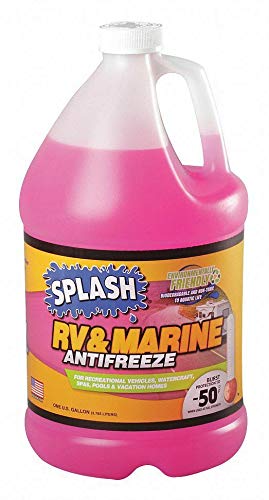
The next thing we're going to do is use a section of garden hose similar to this with the end of it cut off.
We will put that end into our gallon of antifreeze. We will set our water bay to winterize and our water heater in bypass mode. Then we're going to turn the water pump on. We have a switch out here that turns our pump on. You may have a switch inside that turns your pump on but you're going to want to turn that pump on first before you go into the coach.

We want to go to each faucet and open up the valve until we see pink fluid running through the cold side and the hot side. Once we're done with each faucet we close it and move on to the next faucet.
Make sure we get antifreeze through every line and every faucet. Let the faucet run for just a bit so that residual antifreeze will go down into your p -traps. As we discussed in the air blowout method we want antifreeze to be in the water p -traps but also to make its way to our gray and the black holding tanks. Allowing it to run just a little bit will get that antifreeze down into the drain lines and into the tank.
Have a second person keep an eye on your gallon of antifreeze. A big fifth wheel trailer might take up to three gallons of antifreeze to fill the lines and the faucets.
Make sure that you have the right quantity on hand and have a second person watch so that the pump doesn't draw the gallon of antifreeze dry and you start pulling air through the lines.
Now, you might be thinking about one aspect that is not usually winterized, our black tank flush. Our black tank flush could be on the outside of the trailer or in our water bay and we push water through that line to the black tank as well to flush it out. To winterize this, we can either use the air method where we hook up air at 50 psi to the black water tank flush valve or we can just allow the water to drain. The line likely has a check valve in it that will allow water to drain through the nozzles and into the black tank itself.
A couple of aspects of winterizing that we don't want to forget are our appliances. We might have a refrigerator that has a water dispenser or an ice maker. We also might have a washing machine that we need to winterize as well. Follow your manufacturer's recommendations for that.

And of course, don't forget if you have an outside kitchen, the faucet that's out there as well.
If you have any questions or comments about winterizing, let us know! You can visit our website, goldstarrv .org or email us if you have any questions pertaining to winterizing that you might like answered.